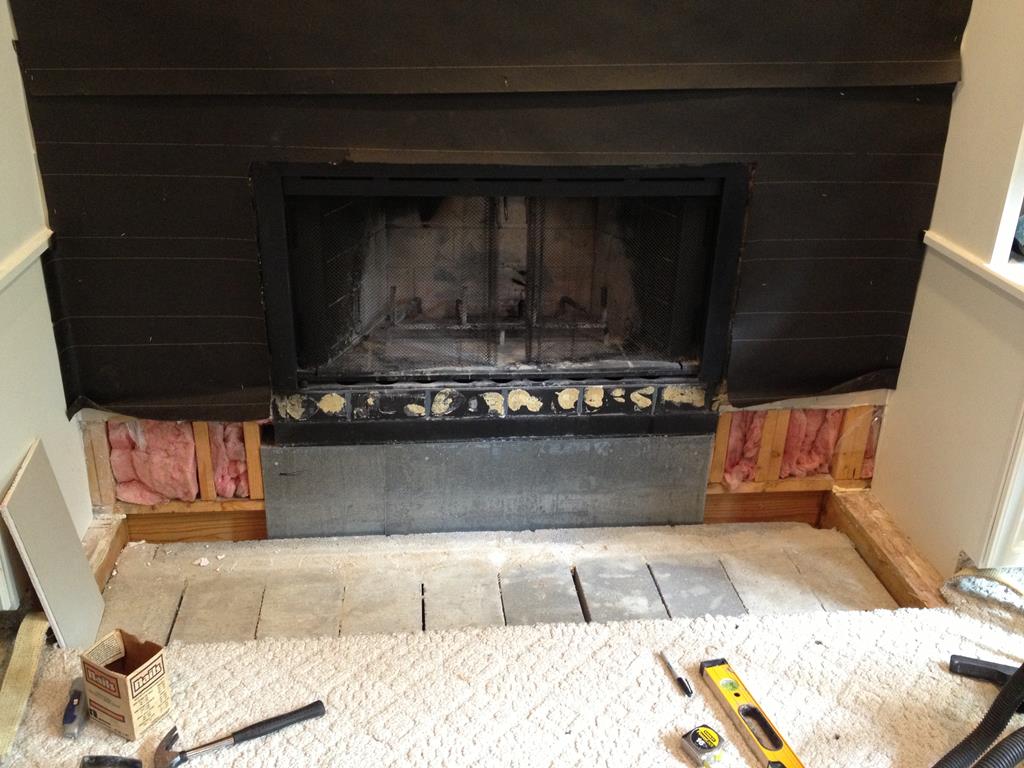
In the middle of the project, we decided to remove the step hearth in front on the fireplace and place the new hearth near or at the floor level, just peeking out above the carpet. This meant a little demo in removing the OSB top and 2×10 framing. It was actually pretty difficult to remove due to the carpenter being a little to overzealous with the nail gun. But I did get the step torn out (without injury) and all the hidden saw dust vacuumed. Lucky I had some left over Sheetrock I would need to patch the two openings previously hidden by the step, you can see those below where the pink insulation is viable.
I had already covered most of the wall with black roofer felt which is used as a moisture barrier. The barrier serves a few purposes. One, to protect the drywall from the moisture in the mortar. Two, to keep the moisture in the mortar, which slows the curing process, thereby resulting in a stronger finished material. And lastly, it acts as a means to prevent cracking if there is movement between the stone and the wall due to any temperature and humidity changes within the house.
The next step is to cover the entire wall with metal lath. I used 2.5lb lath as provided by our stone supplier. This was a challenging process. The lath can have a mind of its own and certainly has sharp edges, so be sure to wear leather gloves when handling this material. Metal snips were used to cut it to size and lath screws were used to attach the lath to the wall studs. Attach screws every 16 inches on the horizontal plane and every 6 inches on the vertical. The lath itself should overlap 1 to 2 inches on the horizontal seams and 3 to 4 inches on the vertical. It took about 3 hours due to the slow process on the trimming to size but it looks pretty good. Note: there is a correct side of the lath to use away from the wall. It’s the side where the bottom of the little diamond shape openings form a little outward cup (presumably to help hold the scratch coat mortar.)

Applying the scratch coat mortar is skill that starts out poor, but you’ll quickly figure out what you’re doing and then the process will speed up. The second half of the wall took about half the time as the first. Mix the mortar following the manufacture instructions (I used a 5 gallon bucket and paddle mixer attached to a heavy-duty 1/2 inch drill), to a consistency of creamy peanut butter and use a flat trowel to apply. Loading the trowel in the center only helps prevent mortar from dripping out as you push up and around and force the mortar into the lath, covering it to at least a 1/2 inch depth. Take your time and expect mortar to drip out onto the floor.
 Once the mortar has set up a bit (possibly 30 to 60 minutes of drying) use the notched side of a trowel to scratch groves into the mortar. These little groves will increase the bonding between the stone mortar and the wall mortar/lath.

I plan to wait 48 hours (due to a busy schedule) and then we’ll have a go at installing the actual stone veneer. Looking forward to that!

Recent Comments